This is a photo of the building I'm going to try to build:
 |
| (Photo by Bob Eglinton - found on http://www.nrzam.org.uk) |
Here is the Sketchup drawing of what I plan to build:
 |
| Front |
 |
| Back-Right |
 | |||
| Back-Left (kitchen door) |
I decided to dive right in and start with the most complex wall - the one with all of the picture windows. First, a clay roller was acquired to provide the ability to roll out sheets of Plasticine (non-hardening clay) at a consistent thickness. It worked great saving a bunch of time and sanity.
 |
| Makin's Professional Ultimate Clay Machine |
A sheet of Plasticine was pressed at the thickest setting. Unfortunately the machine can only make sheets at a maximum thickness of about 4mm. It would have been nice to be able to go much thicker, but adding a few sheets of the very consistent material to get a thicker piece works as well. I cut some sheets and began to form the 'negative' of the wall I planned on making. Working in 'negative space' takes a little time to adjust to as everything is flipped around (left to right) and pushing in results in something popping out in the resulting cast (and vice versa).
Below is the key to getting brick courses that are fairly easy to keep in line. A set of balsa sticks (1/8"x1/16") is glued together to form sort of a picket fence. Appropriate space is left between the pieces of balsa to leave room for where the mortar will be.
 |
| Custom built brick pressing tool. |
Here is a shot of the initial stages of the clay mold being formed:
 |
| Making the mold - working in 'negative space' takes some getting used to. |
In the photo below, the brick pattern has already been pressed into the main portion of the clay as well as around the edges of the piece which will become the opening for the window.
Here is a photo of the nearly finished mold:
 |
| Clay master of the picture window wall. |
 |
| Clay master surrounded by Lego and ready for plaster! Many tools of the trade are scattered about the table as well. |
It took around two hours to go from a chunk of clay to a poured mold. It was late at the time of the pour so I left it for morning to see how it turned out. I didn't sleep well due to the anticipation. ;)
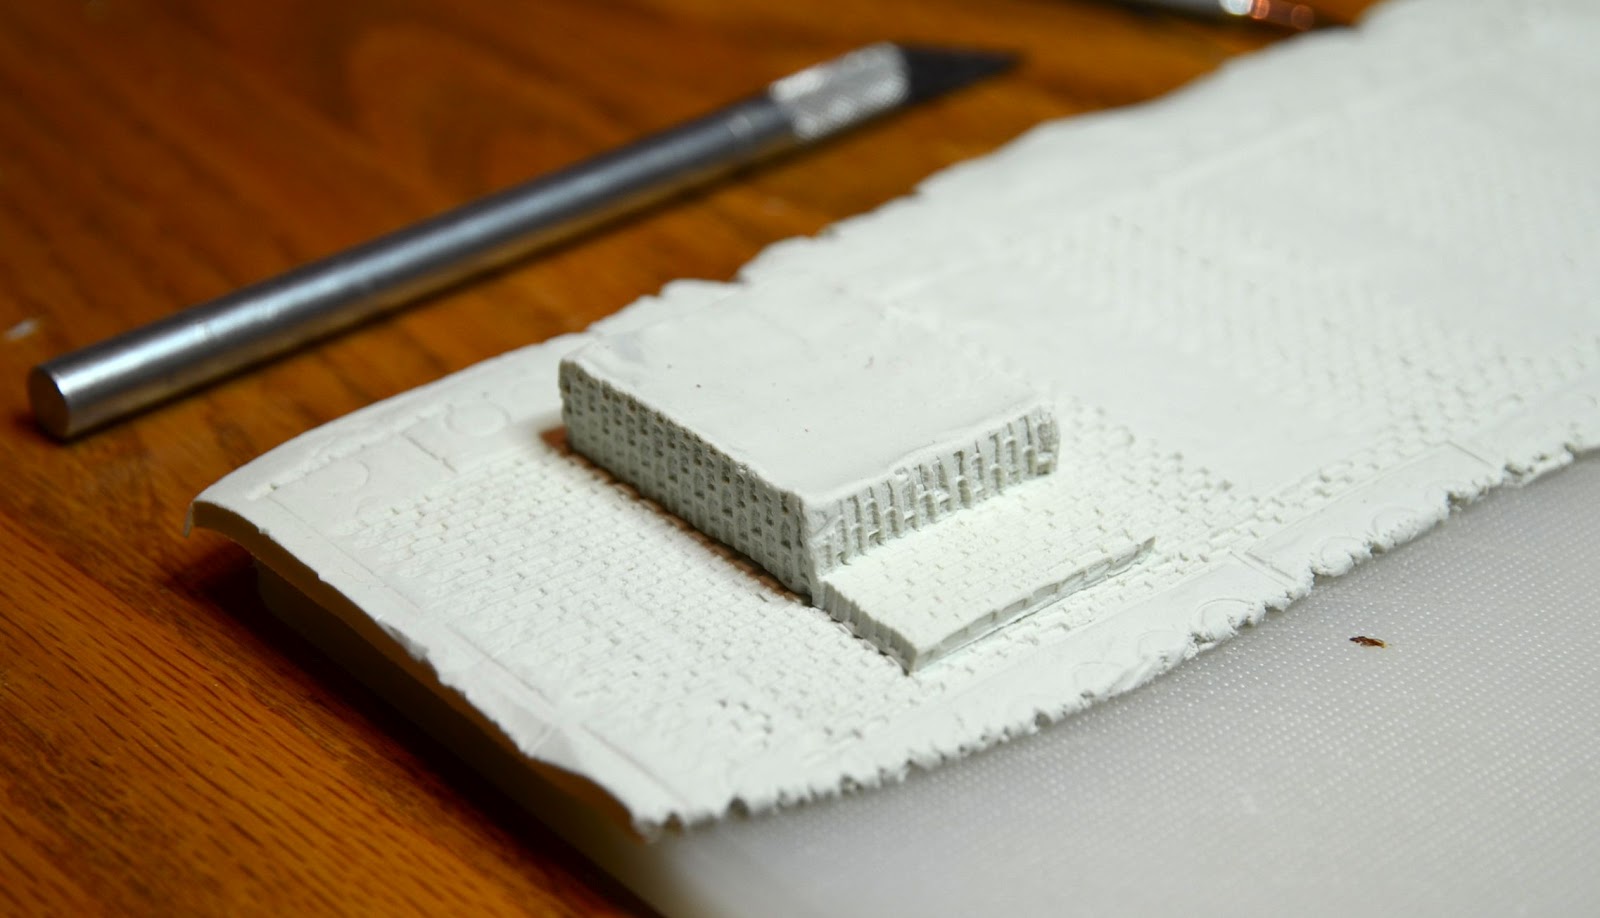
Finally, we have the output of the mold:
 |
| Picture window wall cast in dental plaster. |

The photo above was taken after just taking it out of the mold. There is still a little flashing to work on, but overall it looks decent. The pillars aren't exactly the same size as each other, but not bad for my first try at something other than a flat wall with this method. After finishing with the rest of the walls I'll either have improved the technique so much that I'll re-do this section or be so tired of it that I'll take it as-is. ;)
All sides are brick textured besides the back and outside edges of the piece. The left and right edges will be cut at a 45 degree angle to mesh with the adjacent wall and the interior will either be covered in spackle or just painted as-is since it came out fairly smooth.
Although this 'pressing' technique has been around for a long time, it is sort of intimidating and took me a long time to actually give it a try. Claude Joachim, famous for his Diorama Clervaux, published his book "Capturing Clervaux" on how he made (and is making!) the model. I highly recommend it as it was what re-introduced the technique to me in an easy to understand way. Although my work does not hold a candle to his, I've found this to be the most high potential and enjoyable way to make terrain to date.
Coming up next will be the front of the farmhouse - moving on from the most complex to the longest of the walls!
No comments:
Post a Comment